How to Make a Rodeo Charm for Your Hermes Bag: A Step-by-Step Guide
If you’re a fan of Hermes bags, you’re likely familiar with the iconic Rodeo Charm, a playful and stylish accessory that adds a unique touch to your handbag. Made from leather and designed in the shape of a little horse, the Rodeo Charm has become a must-have for many Hermes collectors. In this guide, we’ll show you how to make your very own Rodeo Charm for your Hermes bag—whether you’re looking to create a custom piece for your own collection or as a thoughtful gift for a Hermes lover.
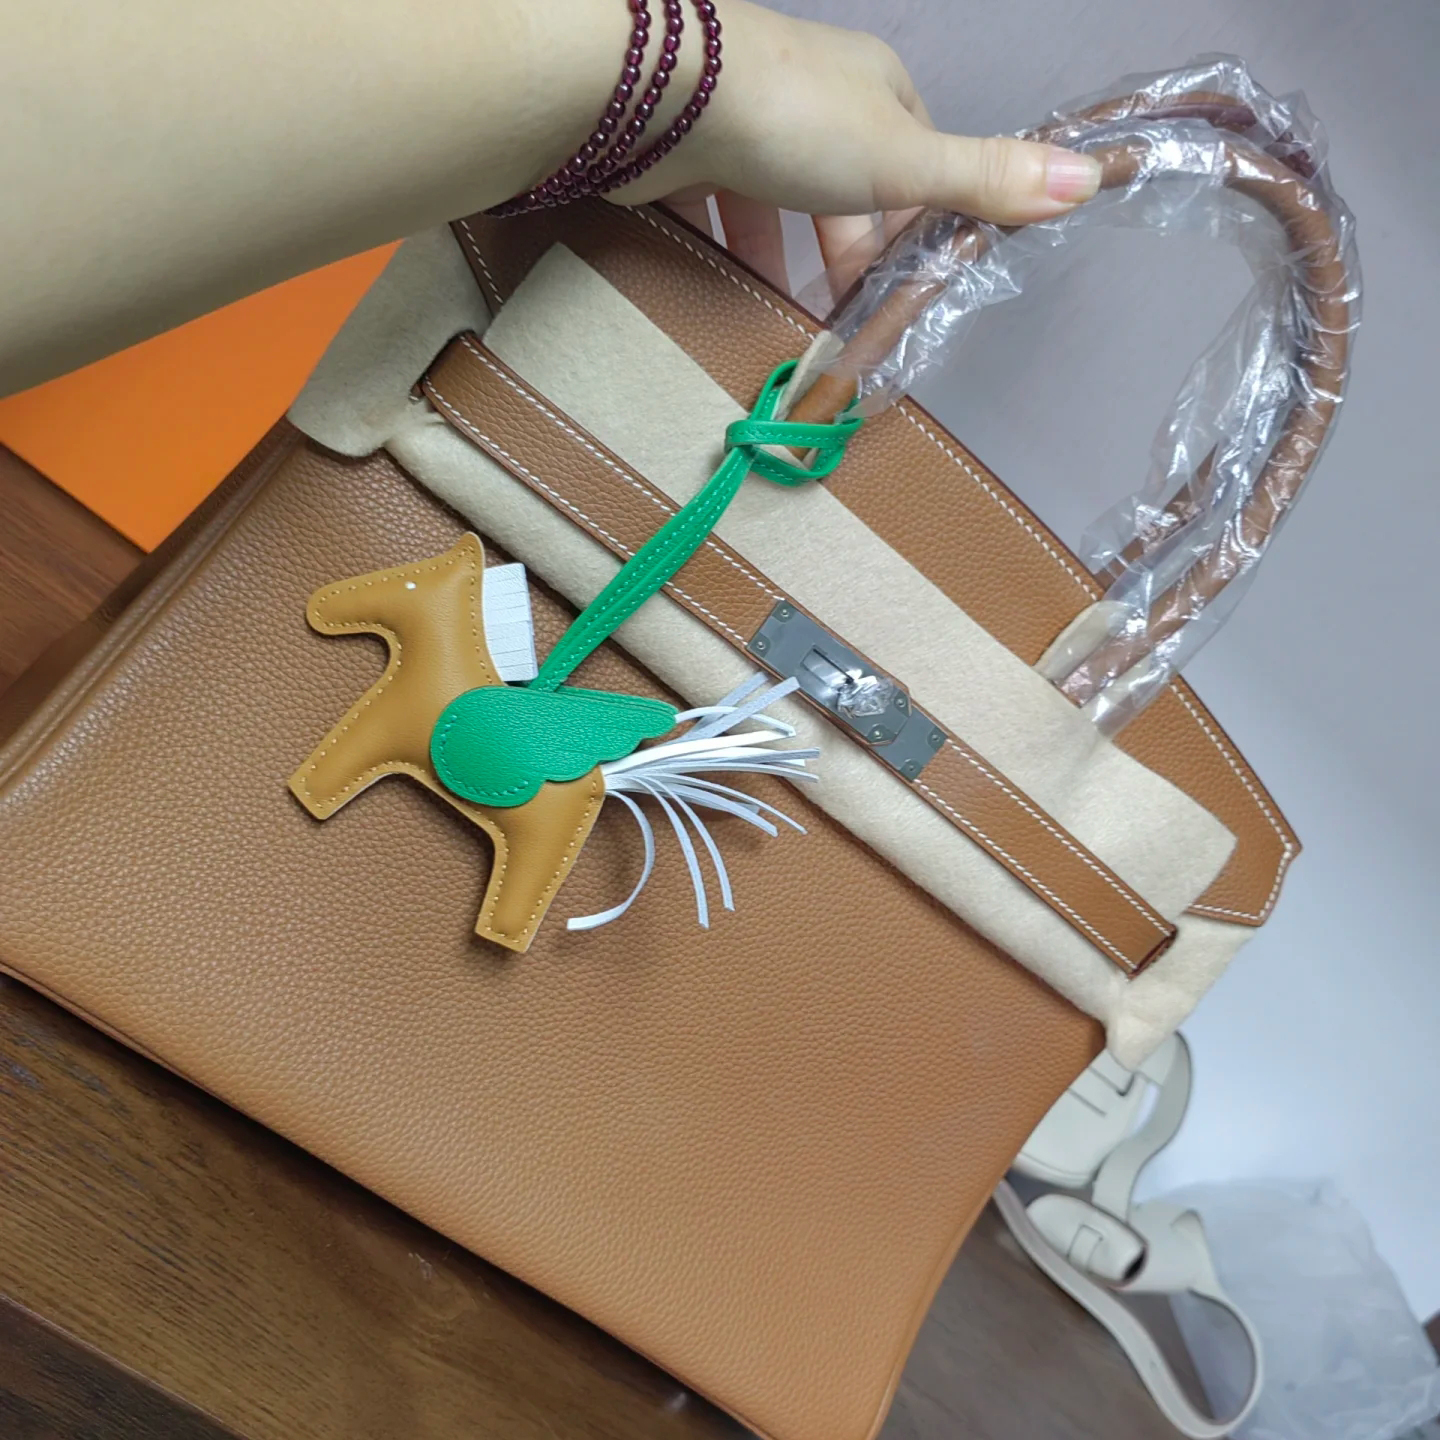
What is a Rodeo Charm?
Before diving into the DIY process, let’s take a moment to understand what makes the Rodeo Charm so special. The Rodeo Charm is a small leather horse-shaped accessory created by Hermes. It’s designed to hang from the handles of your Hermes bag, adding a playful, personalized element. Available in a range of vibrant colors, it’s an easy way to inject some fun into your Hermes bag.
Materials You’ll Need
To make your own Rodeo Charm, you’ll need the following materials:
- Leather: Choose a soft, high-quality leather in your preferred color. Hermes uses premium leather, such as Swift or Clemence leather, but you can opt for any good leather material.
- Pattern Template: You can either purchase a template or create one yourself. This will serve as the guide for cutting out the pieces of the charm.
- Cutting Tools: A sharp pair of fabric scissors or a rotary cutter will help you cut the leather accurately.
- Stitching Materials: Use a strong thread and needles. Hermes often uses saddle stitching, so be sure to have some waxed thread for a neat finish.
- Hardware: A small leather loop or keyring to attach the charm to the Hermes bag.
- Glue: Leather glue or a strong adhesive for bonding pieces.
- Ruler and Pen: To measure and mark your pieces accurately.
Step-by-Step Guide to Making Your Rodeo Charm
Step 1: Prepare the Pattern
Start by either purchasing a Rodeo Charm pattern online or creating your own template. The charm consists of a horse’s body, mane, tail, and legs. Ensure your pattern pieces are the right size to fit your desired charm dimensions.
Step 2: Cut the Leather
Using your pattern as a guide, trace the shapes of the horse body and accessories onto the leather. Carefully cut out the pieces with a sharp pair of scissors or rotary cutter. You may want to cut out extra pieces for the mane and tail to give your charm more dimension.
Step 3: Assemble the Charm
Once all your leather pieces are cut, it’s time to assemble the charm. Start by attaching the mane and tail pieces to the horse’s body. You can use leather glue to secure the parts in place.
Step 4: Stitching the Pieces Together
Using a needle and waxed thread, begin stitching the body of the charm together. Make sure to use a strong, consistent stitch (like saddle stitching) to create a durable and neat finish. Take your time to ensure each stitch is even and secure.
Step 5: Attach the Hardware
Now, attach a small leather loop or keyring to the top of your charm. This will be used to hook it onto your Hermes bag. Make sure the loop is securely fastened, as it will bear the weight of the charm.
Step 6: Final Touches
Once your charm is assembled, go over all the edges with a leather edge tool to smooth out any rough areas. You can also use a leather dye to touch up any areas or add a personal color twist to your charm.
Why Make Your Own Rodeo Charm?
Making your own Rodeo Charm is a great way to personalize your Hermes bag and express your creativity. It also gives you the chance to experiment with different colors and textures, making your charm one-of-a-kind. Plus, it can be a fun DIY project that allows you to learn more about leatherworking.
Conclusion
While Hermes Rodeo Charms are undeniably chic and elegant, making your own version adds a personal and artisanal touch to your handbag. With the right materials and a bit of patience, you can create a stunning Rodeo Charm that complements your unique style. Whether you’re keeping it for yourself or gifting it to a fellow Hermes enthusiast, this DIY project is sure to make your bag even more special.